ARM Embedded Tutorial - Raspberry Pi Pico using Displays and I2C
Introduction
In this example we interface a SSD1306 Display to the Pico.
Those very cheap displays are commonly used in the Arduino World and come in two versions:
The version we use here is the I2C Version, the most common one is the 128x32 Pixels Display:
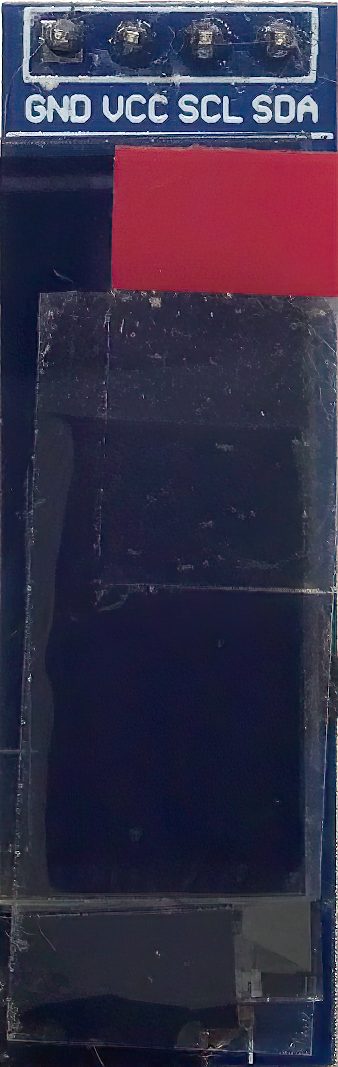
Please note that only 4 pins are needed to connect this display.
The other Version has a display resolution of 128x64 pixels, the more common variant is for SPI bus, make sure that for this example you use a version with only 4 pins:
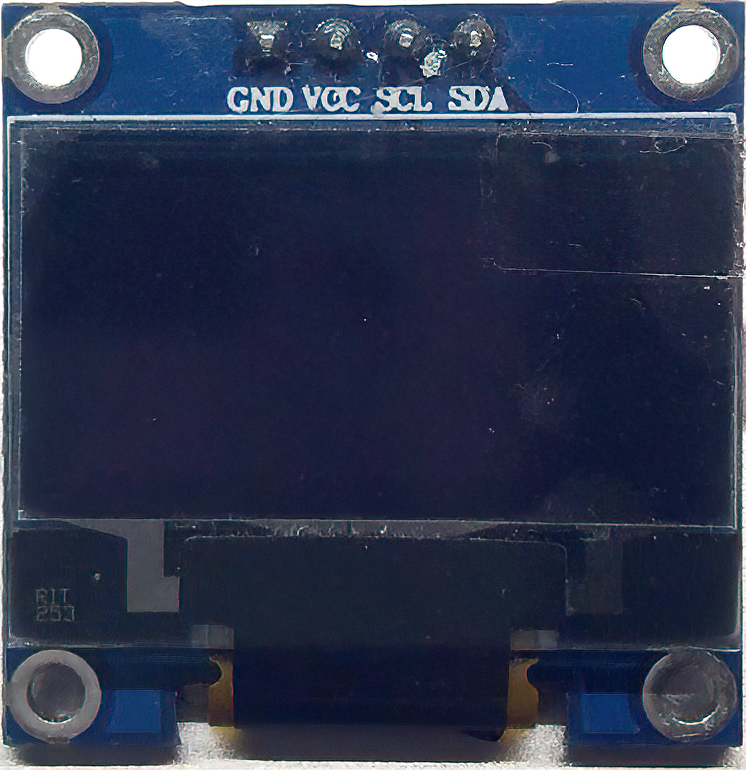
Both displays are only Black & White, so only very litte amount of data has to be transfered to the display
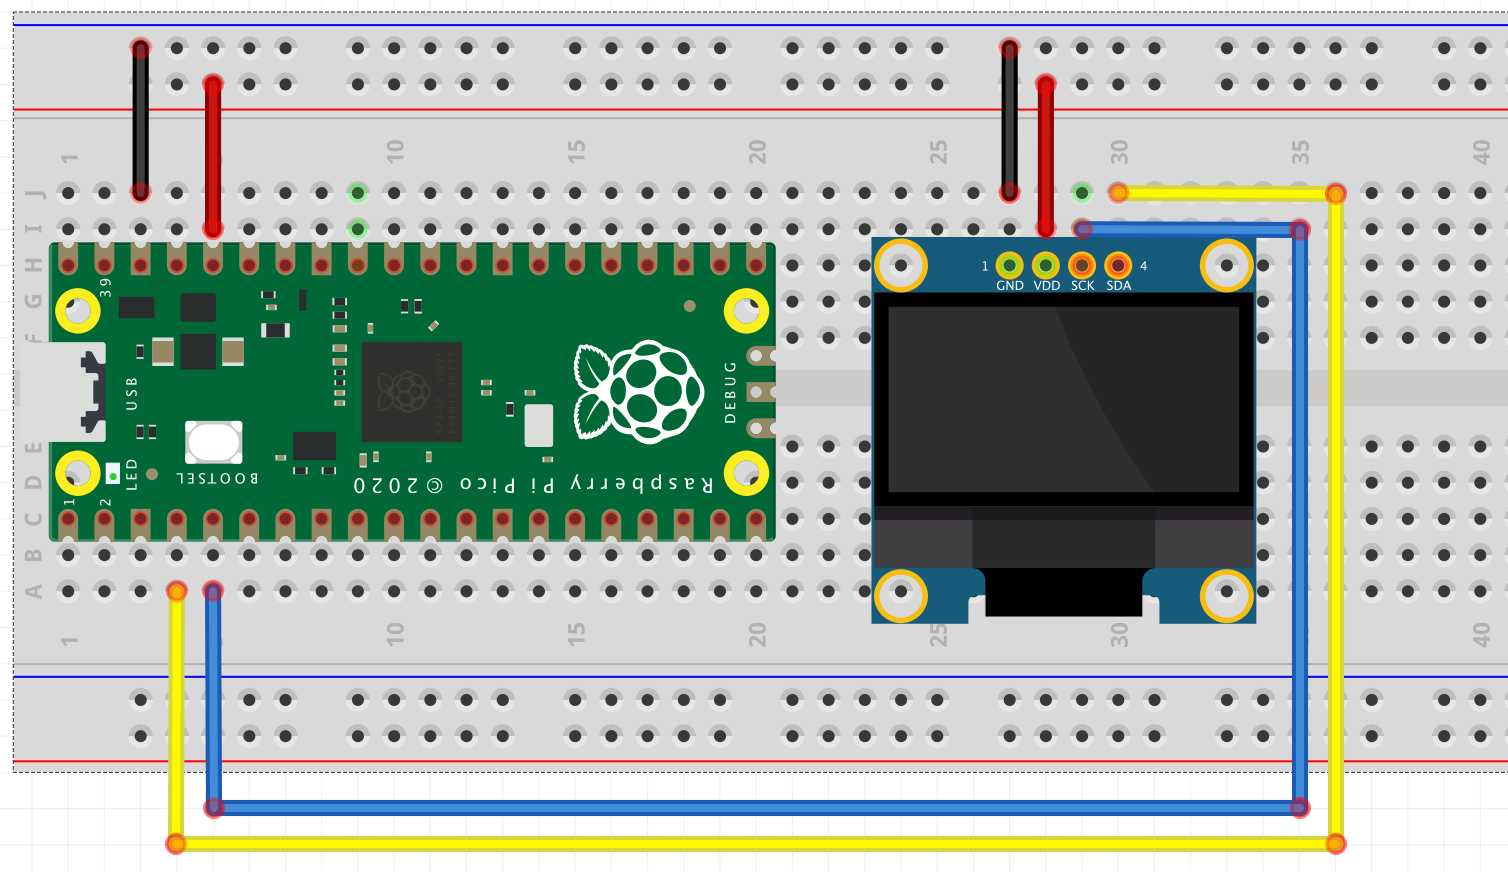
On a breadboard our hardware will look like this:
Load the project in Lazarus
This example can be found here: i2c_ssd1306/i2c_ssd1306-raspi_pico.lpi
{$MODE OBJFPC}
{$H+}
{$MEMORY 10000,10000}
uses
  ssd1306_i2c_c,
  pico_gpio_c,
  pico_i2c_c,
  pico_timer_c,
  pico_c,
  Fonts.BitstreamVeraSansMono13x24;

var
  ssd1306 : TSSD1306_I2C;

begin
  gpio_init(TPicoPin.LED);
  gpio_set_dir(TPicoPin.LED,TGPIODirection.GPIO_OUT);

  i2c_init(i2c0Inst, 400000);
  gpio_set_function(TPicoPin.GP4_I2C0_SDA, GPIO_FUNC_I2C);
  gpio_set_function(TPicoPin.GP5_I2C0_SCL, GPIO_FUNC_I2C);
  gpio_pull_up(TPicoPin.GP4_I2C0_SDA);
  gpio_pull_up(TPicoPin.GP5_I2C0_SCL);

  ssd1306.Initialize(i2c0Inst,$3c,TPicoPin.None,ScreenSize128x64x1);
  //ssd1306.Initialize(i2c0Inst,$3c,TPicoPin.None,ScreenSize128x32x1);
  ssd1306.InitSequence;
  ssd1306.setFont(BitstreamVeraSansMono13x24);

  repeat
    gpio_put(TPicoPin.LED,true);
    ssd1306.ForegroundColor := clBlack;
    ssd1306.BackgroundColor := clWhite;
    ssd1306.ClearScreen;
    ssd1306.drawText('Hello',0,0);
    ssd1306.updateScreen;
    busy_wait_us_32(1000000);
    gpio_put(TPicoPin.LED,false);
    ssd1306.ForegroundColor := clWhite;
    ssd1306.BackgroundColor := clBlack;
    ssd1306.ClearScreen;
    ssd1306.drawText('FreePascal',0,ssd1306.ScreenInfo.Height-BitstreamVeraSansMono13x24.Height);
    ssd1306.updateScreen;
    busy_wait_us_32(1000000);
  until 1=0;
end.
For this example it is important to have Heap Memory set, it is used for two purposes:
- We use a Framebuffer of max. 1kB Size which is allocated on start based on the size of the screen used.
- We use AnsiStrings
Most of the heavy lifting is done in ssd1306_i2c_c and it's base objects, so we can concentrate on the job at hand (displaying text) without the need to know for the gritty details.
On Initialization we tell the pico the display size our display has. When the output on your display looks somewhat strange the doublecheck that parameter, the SSD1306 will also work with wrong parameters set but output is not nice.
As we are using a Framebuffer the display only gets updated when we request it, when you are ready to show a screen call
ssd1306.updateScreen;The only exception is
ssd1306.ClearScreen;this command immediately cleans the display screen.
See also
From the Free Pascal wiki, page "ARM Embedded Tutorial - Raspberry Pi Pico using Displays and I2C", as it stood on 2021-12-30 after a change by Trev, out of the wiki's dump of 2024-05-26. Copyright stays with the author who wrote it, according to the old wiki's Licensing page. If you have concerns about this material, message the admin.